 |
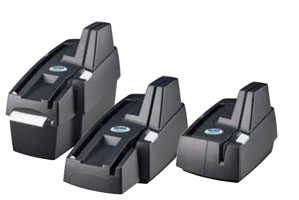
The EC9600i network scanner can connect to your computer via a USB cable or over the network via an Ethernet cable. There are four ways to hook up the scanner: |
|
The EC9600i network scanner can connect to your computer via a USB cable or over the network via an Ethernet cable. There are four ways to hook up the scanner: |
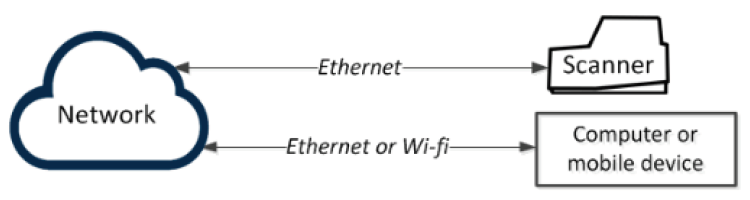
| Option 1: Scanner and computer with separate connections to network | |
| In this setup, you connect the scanner to the network. Your computer retains
whatever network connection it had previously. |
|
 |
|
| Considerations: | |
| • | All workstations on the same network can connect to the scanner. |
| • | Requires a dedicated Ethernet connection for the scanner. |
| • | Can be used by both auto-feed and single-feed network scanners. |
To hook up: |
|
| 1. | Plug an Ethernet cable into one of the Ethernet ports on the back of the scanner (marked in red below). |
 |
|
| 2. | Plug the other end into an Ethernet network jack. |
| Option 2: Computer is connected to the network through the scanner (auto-feed scanner only) | |
| In this setup, you connect the scanner to the network. You then connect
your computer to the network through the scanner. |
|
 |
|
| Considerations: | |
| • | All workstations on the same network can connect to the scanner. |
| • | Does not require a dedicated Ethernet connection for the scanner. |
| • | The computer that connects to the network through the scanner is limited to a 100 MB/s connection. |
| • | Requires two Ethernet ports and so is only supported on EC9603f, EC9604f, EC9607f, and EC9608f scanners. |
To hook up: |
|
| 1. | Disconnect the Ethernet cable that is plugged into your computer and connect it to the scanner in one of the two Ethernet ports (marked in red below). |
 |
|
| 2. | Using the Ethernet cable that is included in your scanner box, connect one end to the Ethernet port on the back of your scanner (marked in red below) and the other end into the Ethernet port on your computer. |
 |
|
| Option 3: Scanner is connected to the computer using USB | |
 |
|
| Considerations: | |
| • | The only workstation that can use the scanner is the one it is connected to. |
| • | Does not require a dedicated Ethernet connection for the scanner. |
| • | Can be used by both auto-feed and single-feed network scanners. |
To hook up: |
|
| 1. | Plug the USB cable (included) into the square USB port on the back of the scanner (marked in red below). |
 |
|
| 2. | Plug the other end into a USB port on your computer. |
| Option 4: Adding the scanner to the network | |
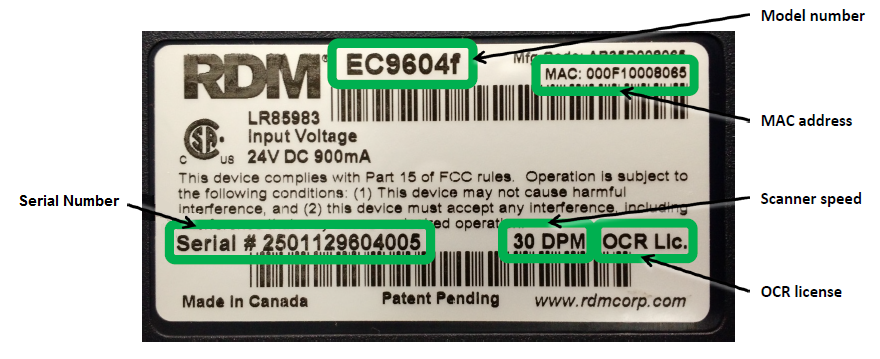
| Depending on your network’s security settings, an administrator might need to add the scanner to the network. The administrator will need the scanner’s MAC address and device name: | |
| • | The MAC address is printed on the bottom or back of the scanner. For example, 000F10008065. |
| • | The scanner's device name is rd |
 |
|
Updated: 08/15/2017