| The franker cartridge creates a red ink stamp that defaces the front of
each check with a message that says “Electronically Presented”. Franker can be purchased by contacting your solution
provider or reseller. |
|
   |
| I. |
To access the Franker Area: |
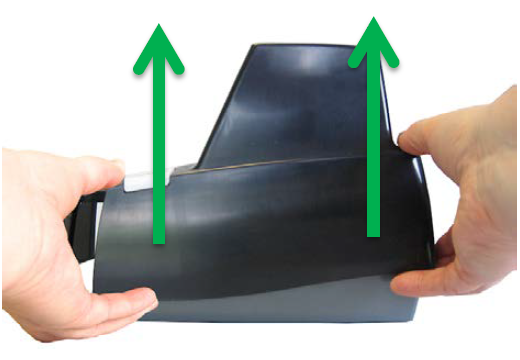
| Remove the front cover when you need to clear paper jams,
replace the franker cartridge, or clean the image sensor. |
|
| 1. |
Disconnect the power cord from the scanner. |
| 2. |
Pull the insertion extensions forward. |
| 3. |
Grasp the front and the back end of the front cover. |
| 4. |
Gently pull the cover upwards until it detaches from the scanner. |
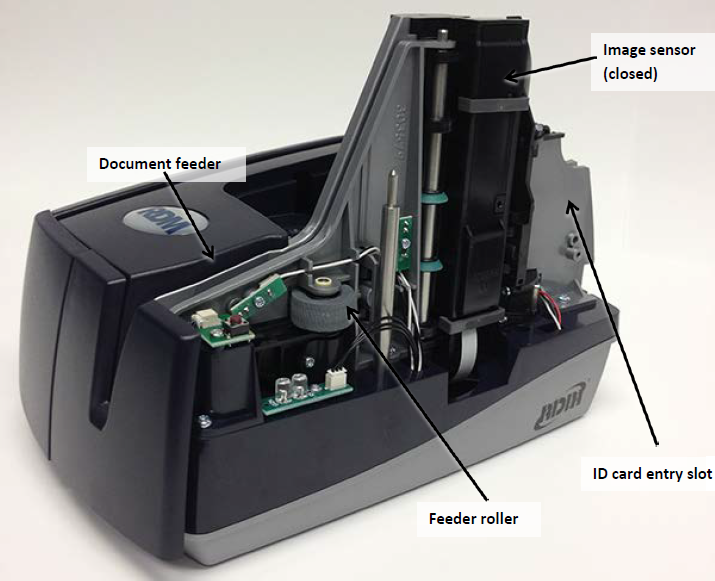
| 5. |
Rotate the unit around to expose the back, that is where the Franking cartridge
will be located. |
|
|
 |
II. |
Removing the Franker Cartridge: |
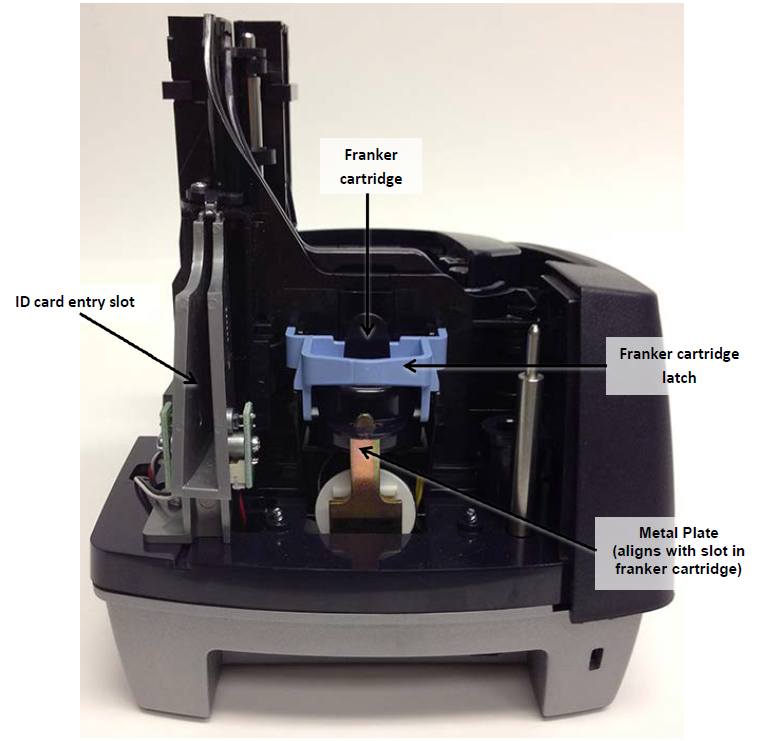
| 1. |
Remove the front cover, the franker cartridge is held in place by a
Blue franker latch and a metal plate. |
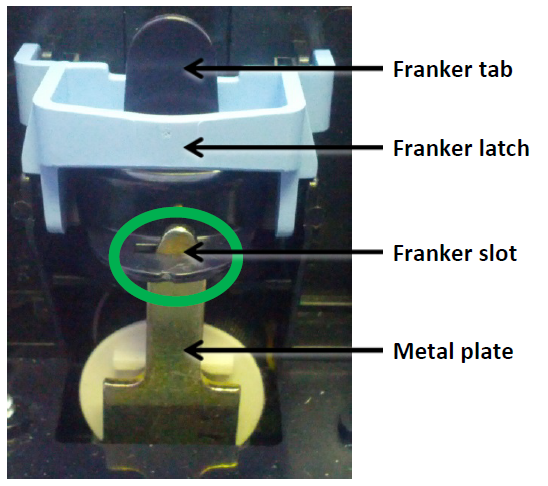
| 2. |
Lift the Blue franker latch. |
| 3. |
Pull the franker cartridge out of the scanner by the franker tab. |
| 4. |
Replace the scanner cover. |
|